Custom made jewelry can cost a lot if you buy it at the store or online. Why not try making some one of a kind pieces at home that cost practically nothing and look just as beautiful as their pricier counterparts! Very creative! Love this idea!
With this tutorial, making your own arm candy can be extremely low cost, easy, and fun to do. Plus, if you have children who are wrapping up the school year, it will give you something creative and hands-on to do with them. This project involves re-using and recycling plastic bottles to make bracelets, so you won’t waste or need to buy anything. You can make lots of them and even if you mess up it doesn’t matter, just keep going until you make the perfect accessory!
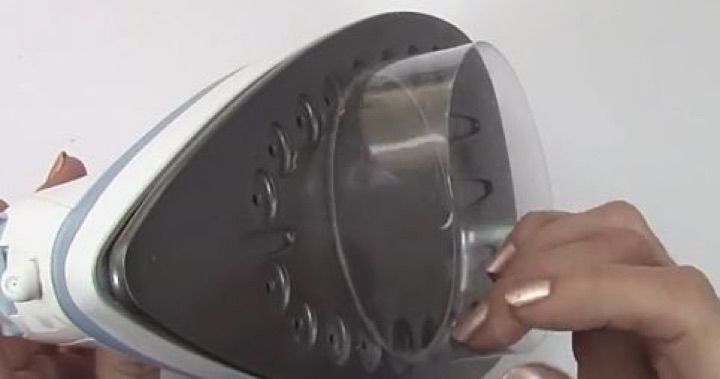
To create your very own you only need some plastic bottles, tape, scissors, an iron, and nail polish or acrylic paint. Remove all the labels from the bottles and wash them well beforehand. Start by taking a bottle and wrap a layer of tape completely around the mid-section. You may need to wrap several layers of tape around it depending on how thick you want the bracelet to be. Cut the plastic away from around where you taped and trim the edges, as neat and evenly as you can, then completely remove the tape. Break out your iron and turn off the steam setting before adjusting it to a medium heat temperature. Be very careful doing this next step. Slowly begin to melt the sharp plastic edge on the hot iron so that each side is smooth and even all the way around. Make sure that you don’t melt the plastic too much, you only need to place it on the iron for a second or two.
Once it has cooled you can cover the plastic with nail polish or acrylic paint in whatever color or design you like. Ones with metallic finishes and textures would look really cool. Plus, you can add rhinestones, glitter, beads, stickers, or anything else to these. They will turn out shiny and can be custom made to match any outfit or look you are going for.


